0 Comments
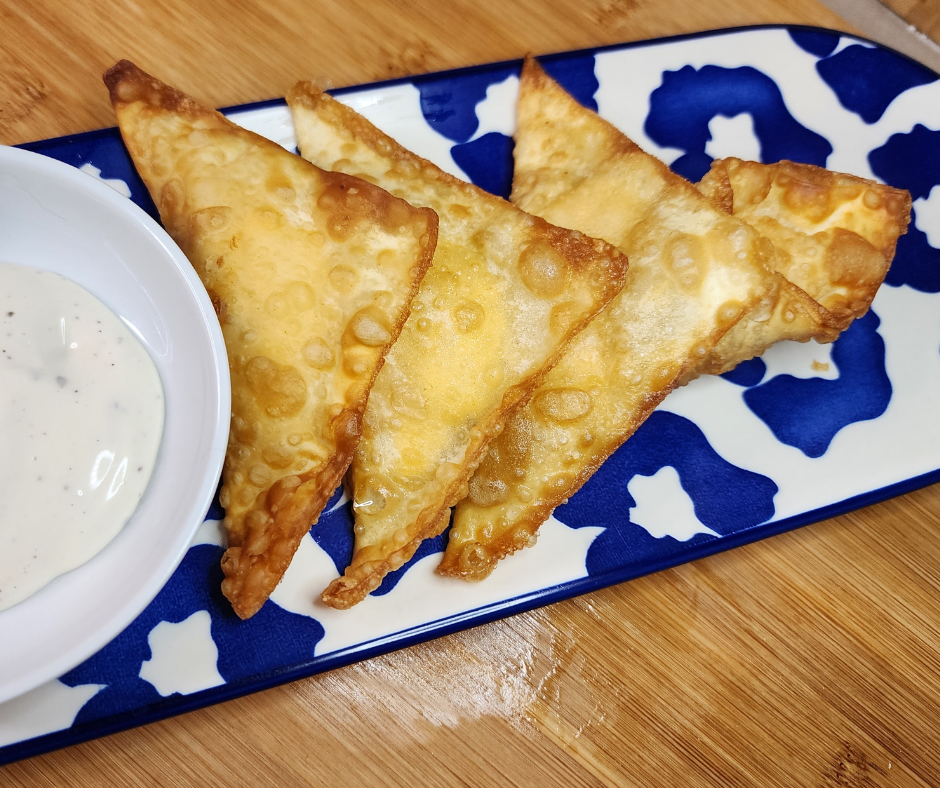
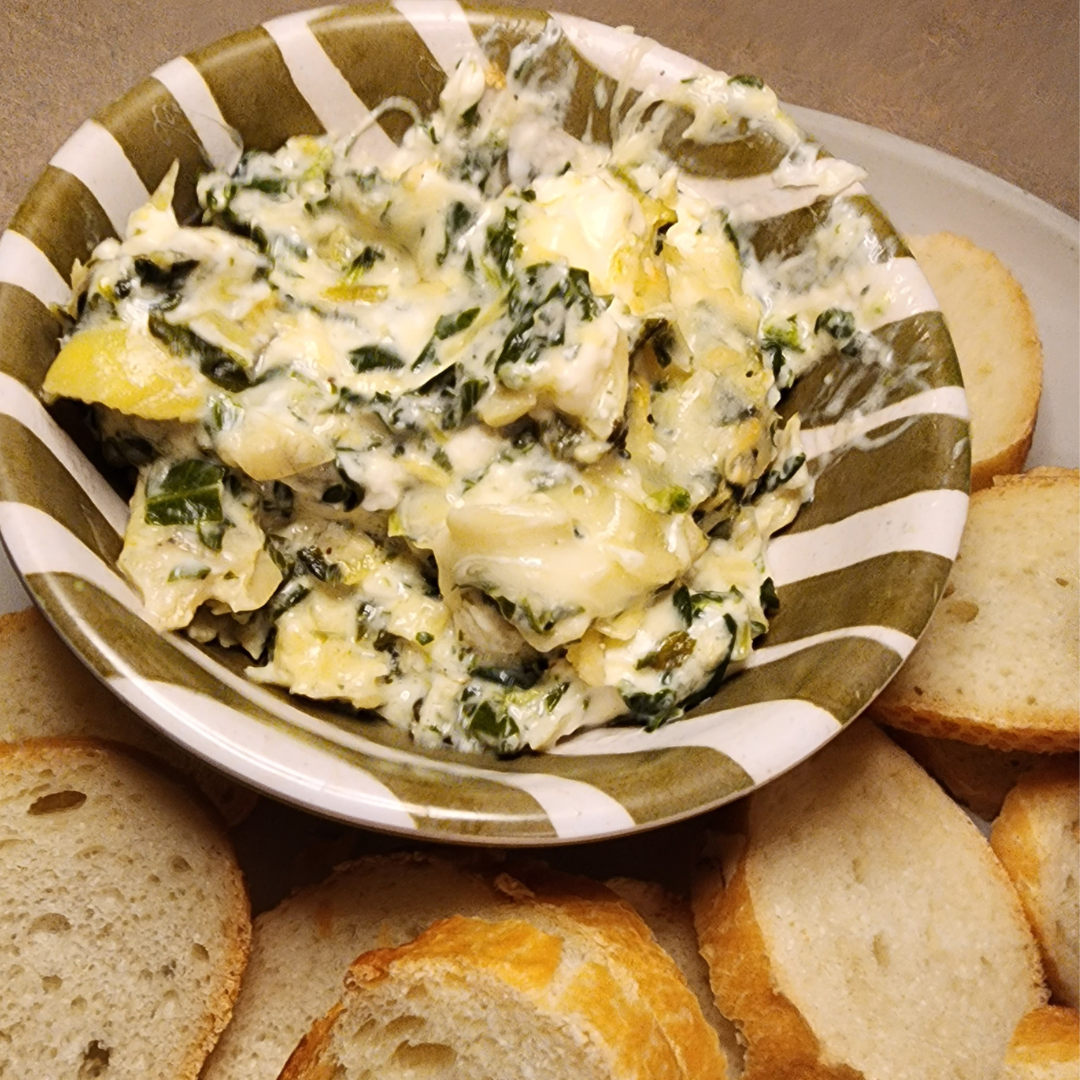
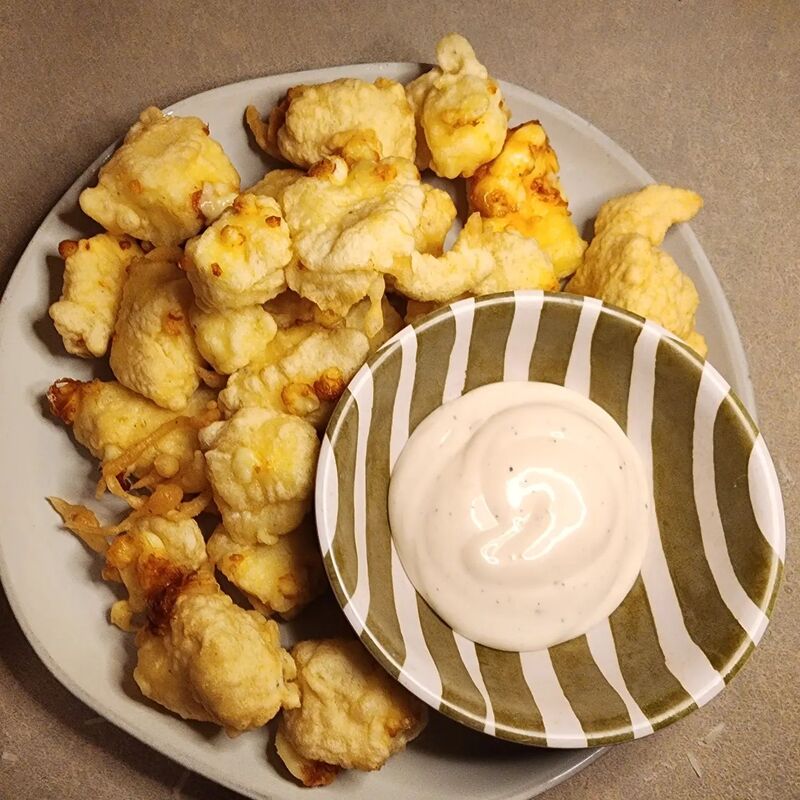
Got leftover buffalo chicken dip from a party? Need a way to use it other than eating it with chips again? Look no further than this simple preparation of wrapping a spoonful in a wonton and dropping it into a fryer. This method can also be used with any cream cheese based dip that you have left behind after a party.
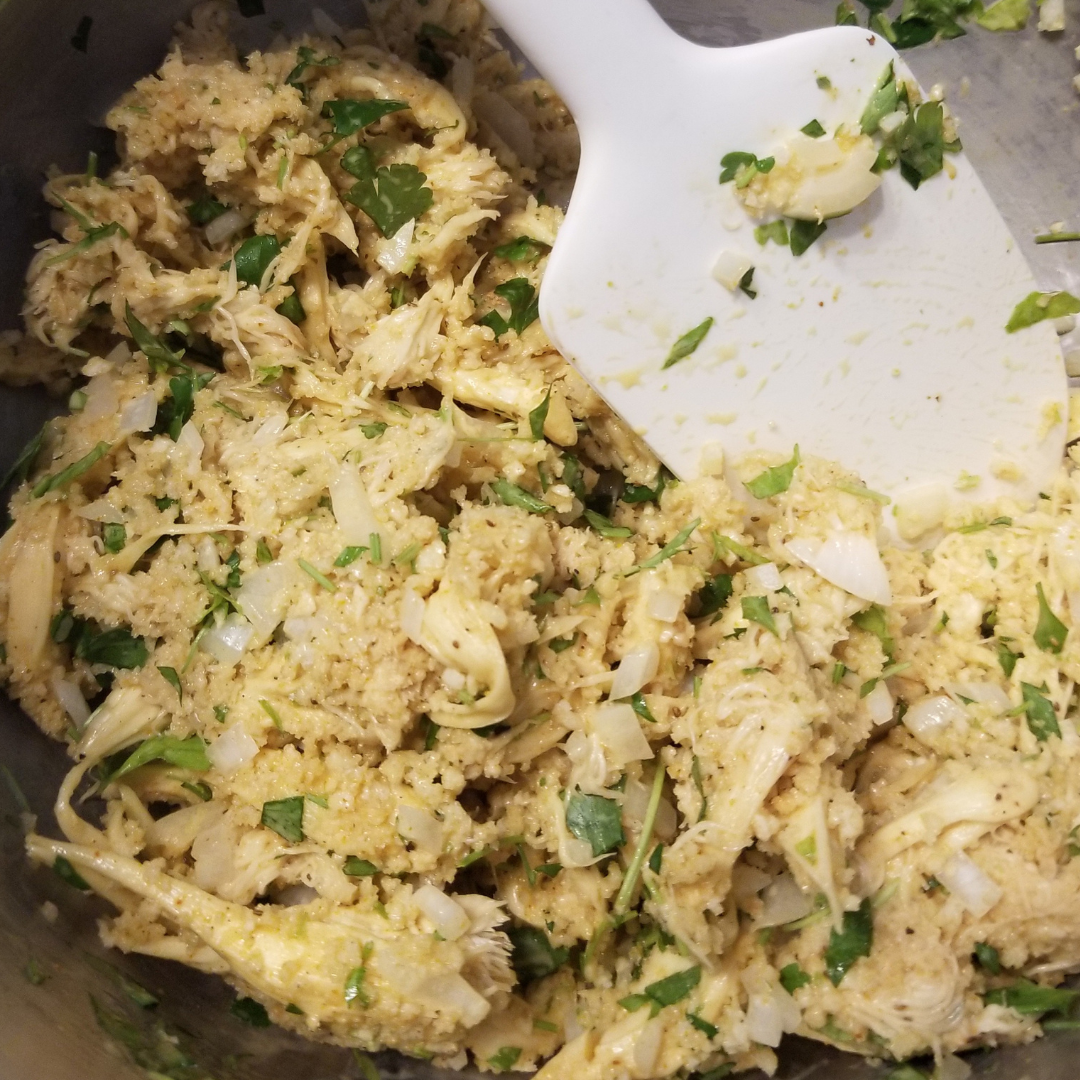
I’ve included the recipe for my version of Buffalo Chicken Dip below to help you make it the Eating Normal Way.
|
Archives
February 2024
Categories
All
|

 RSS Feed